Closet Tracking Diary

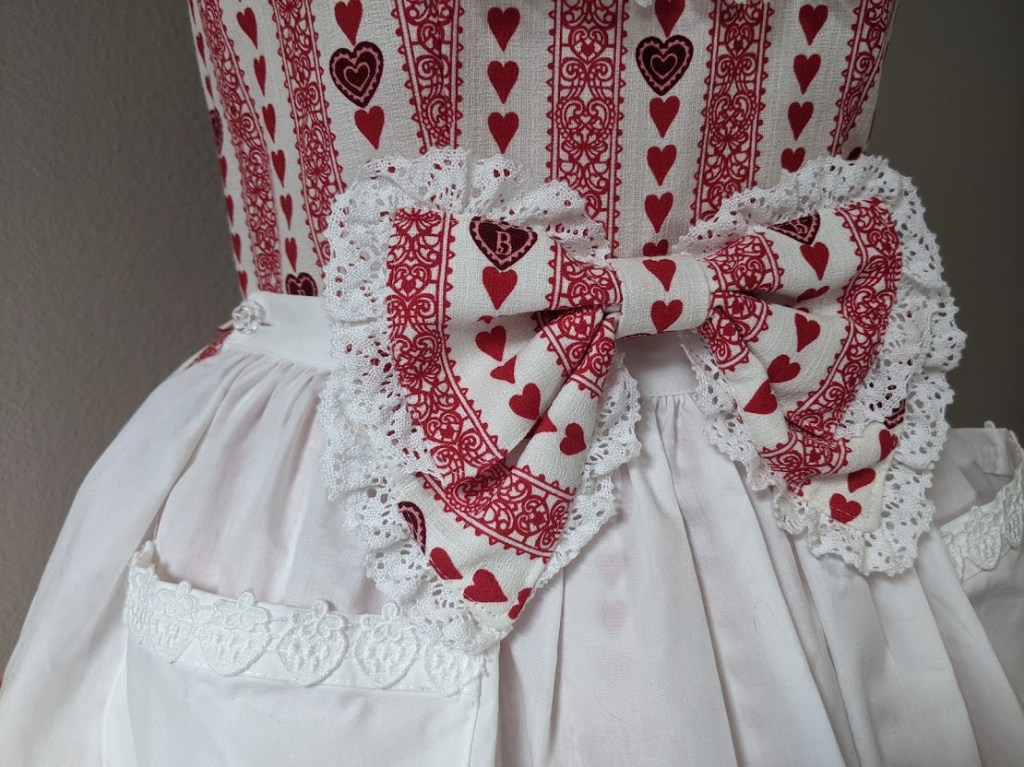
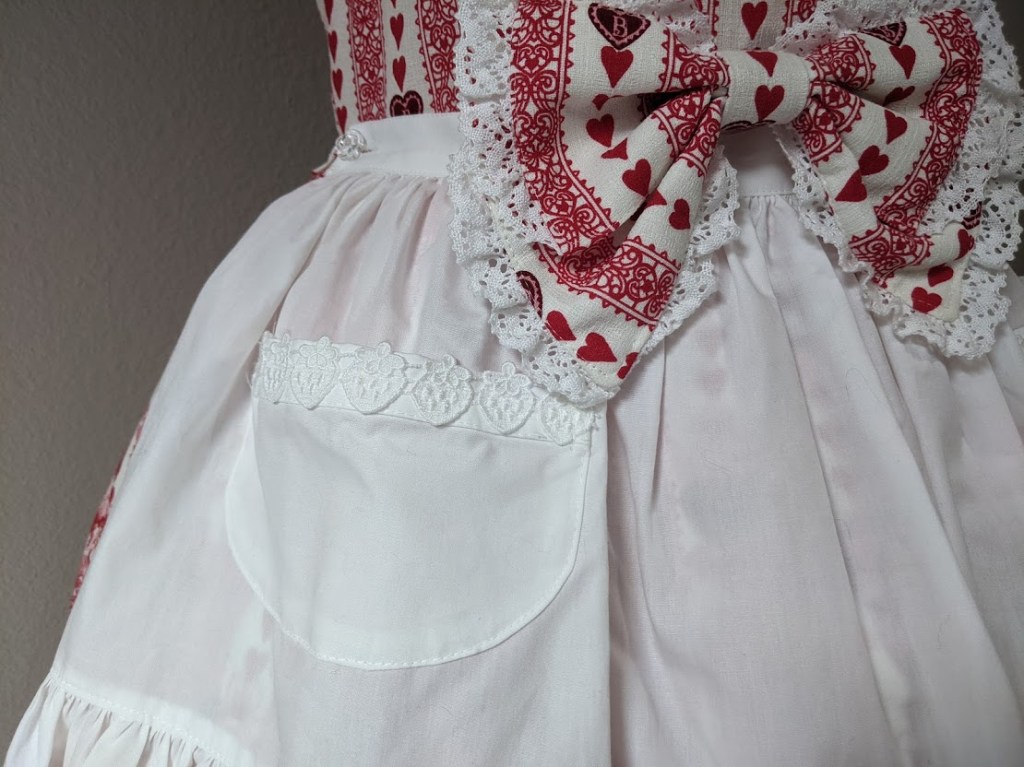
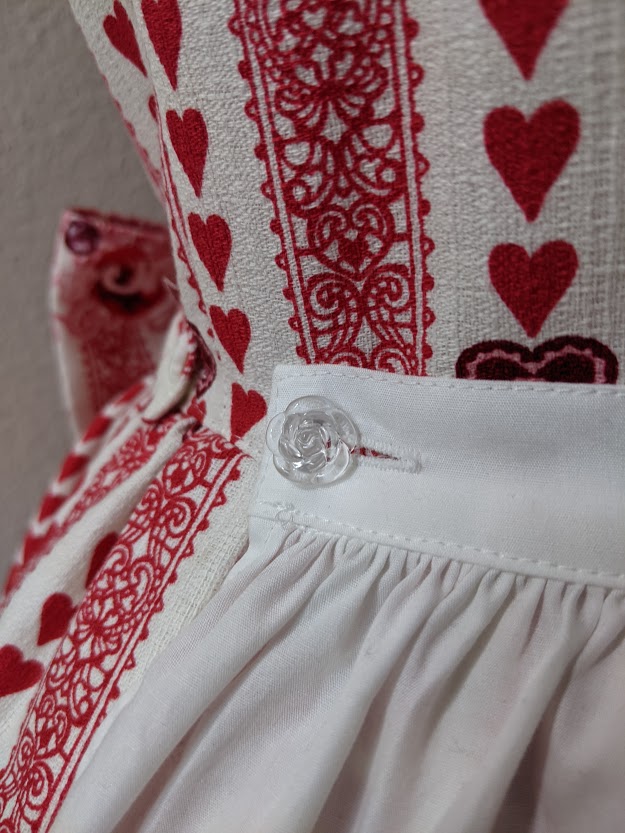
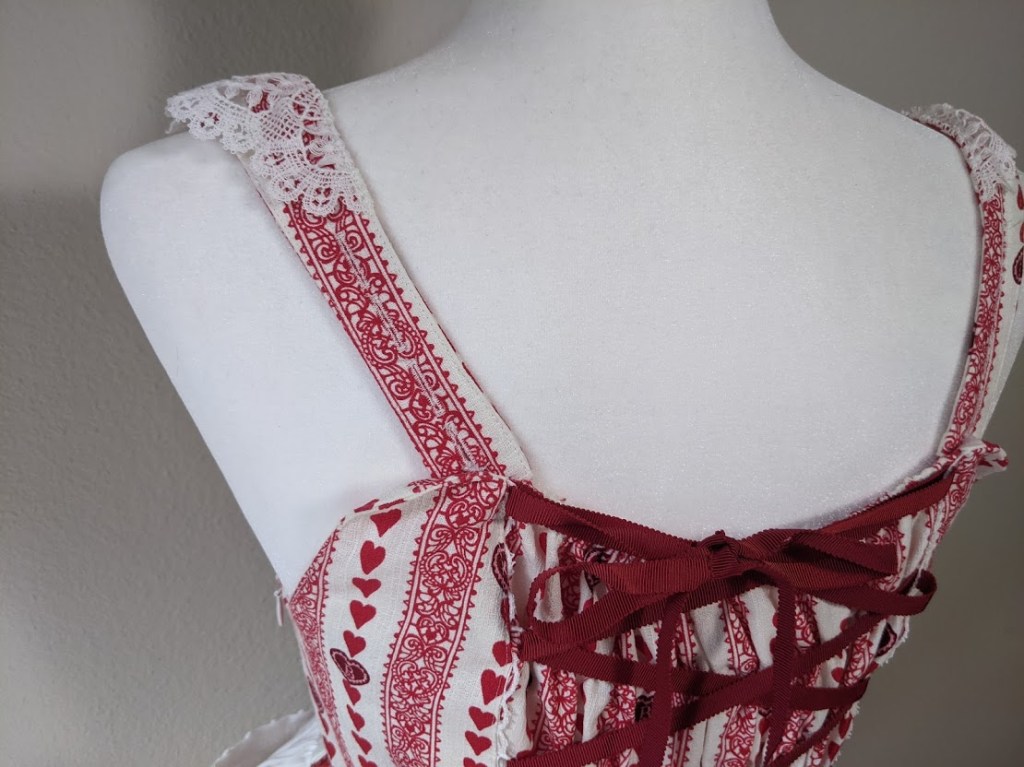
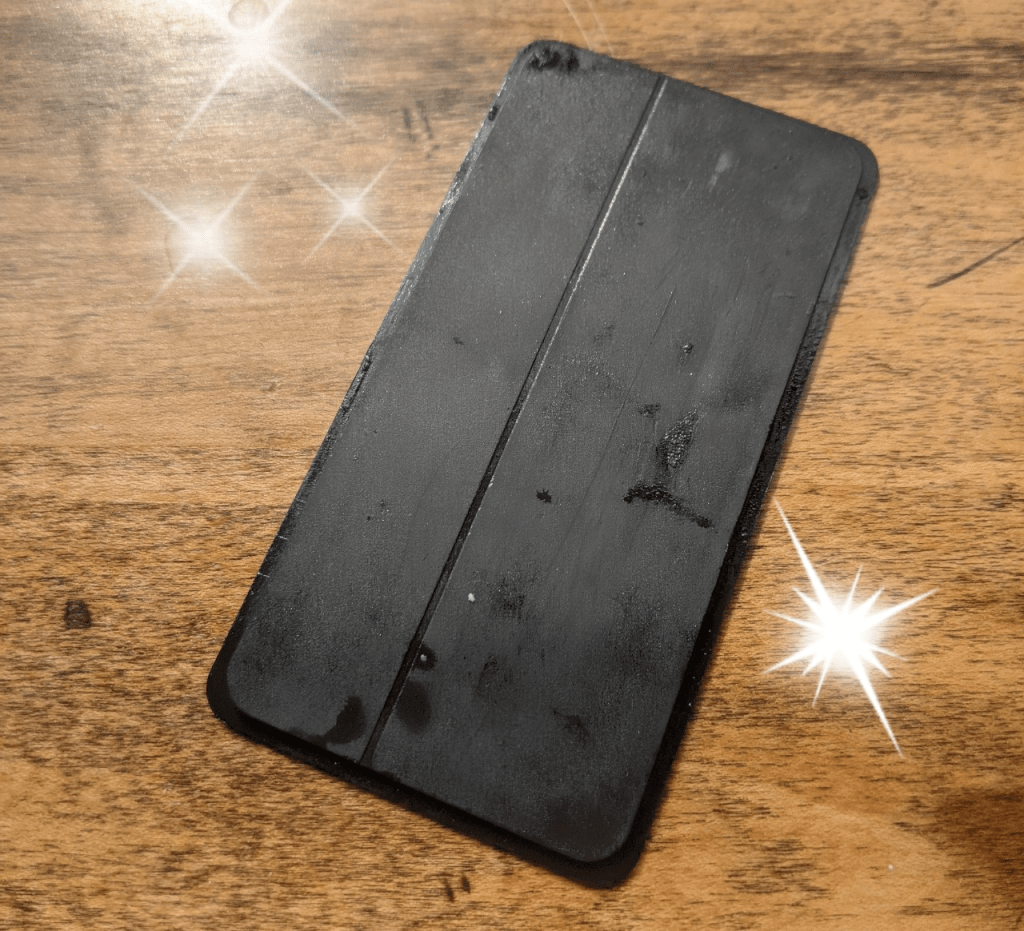
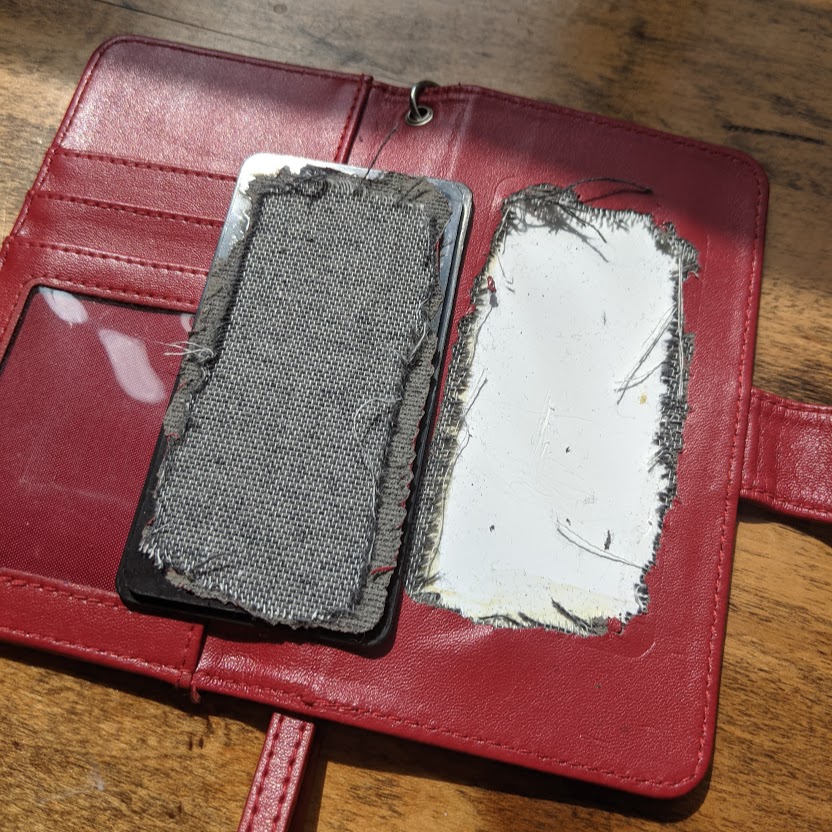
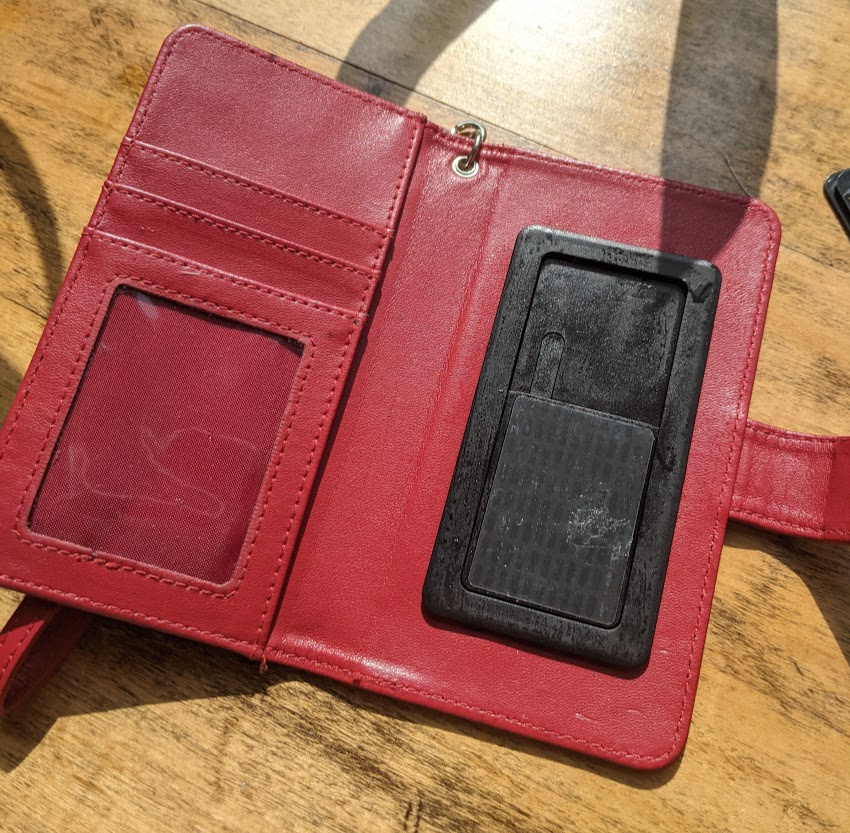
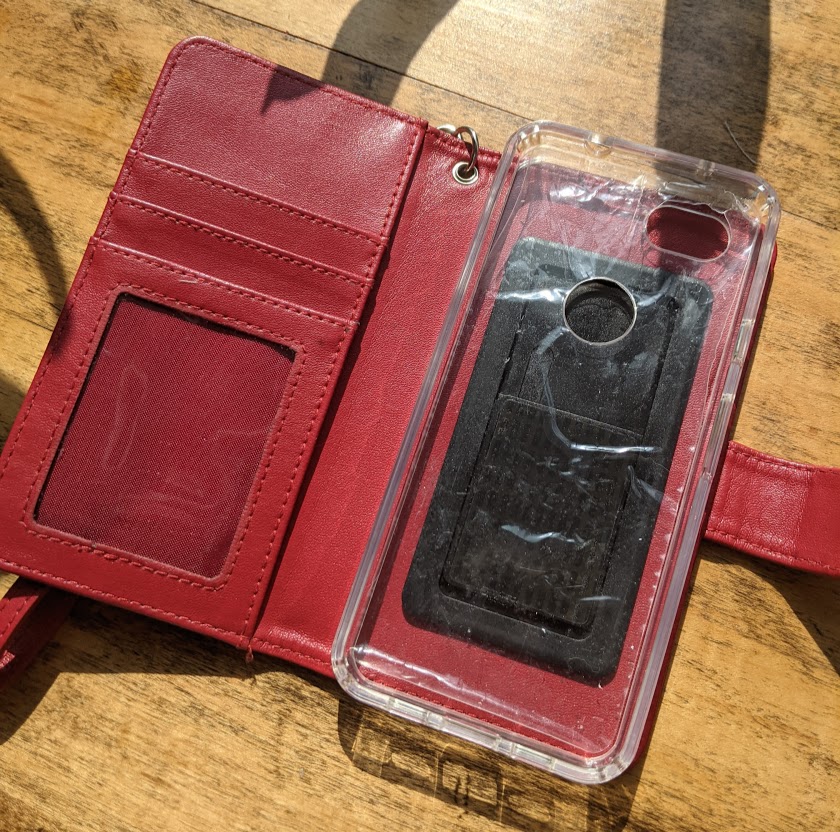
I want to begin tracking the longevity of items in my closet. This idea has been on my mind for a while, but I’ve struggled to decide on the best approach. I considered using a closet tracking app where you photograph everything, but the upfront work seemed overwhelming. Creating a spreadsheet to log when items come in and go out seemed practical, but not visually appealing. Images will be important in this project to see why new items caught my eye, and why the item eventually leaves the closet. Then remembered I could use this blog. Since it’s not widely read, I can repurpose it as a personal diary of my consumer goods, documenting purchases and disposals.


By analyzing what lasts in my closet and why, I hope to curate a wardrobe of higher quality and better aesthetics. While I’m not a minimalist, the idea of refining my possessions to include only well-made items that I truly love, ala Kon-Mari, has always appealed to me. Keeping a record of purchases that end up as regrets should streamline this process. Facing these mistakes and acknowledging their cost might prevent similar errors in the future.


Despite realizing that investing in cheaper clothes often leads to disappointment in the long run, I still find myself tempted by budget options or swayed by cute details that corners were probably cut to make. However, these pieces inevitably lose their charm after a few washes and end up as expensive trash. Outside of the environmental impact of it all, seeing materials get wastes is just annoying. I know my actions as one person isn’t going to put a stop to all the problems of fast fashion, but I can at least put my money towards supporting smaller creators and learn more about it overtime. By prioritizing quality over quantity, I can ensure that even if an item no longer fits my style, it can still find a new home through gifting, selling, or donation, thus extending its lifecycle beyond my closet.


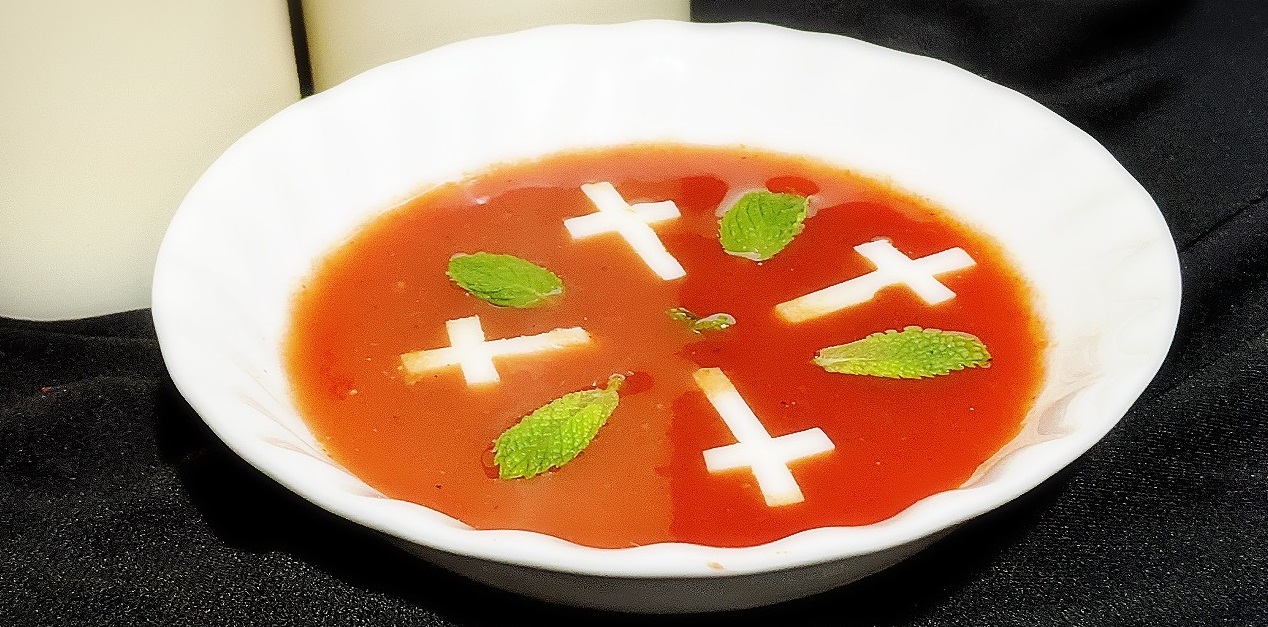
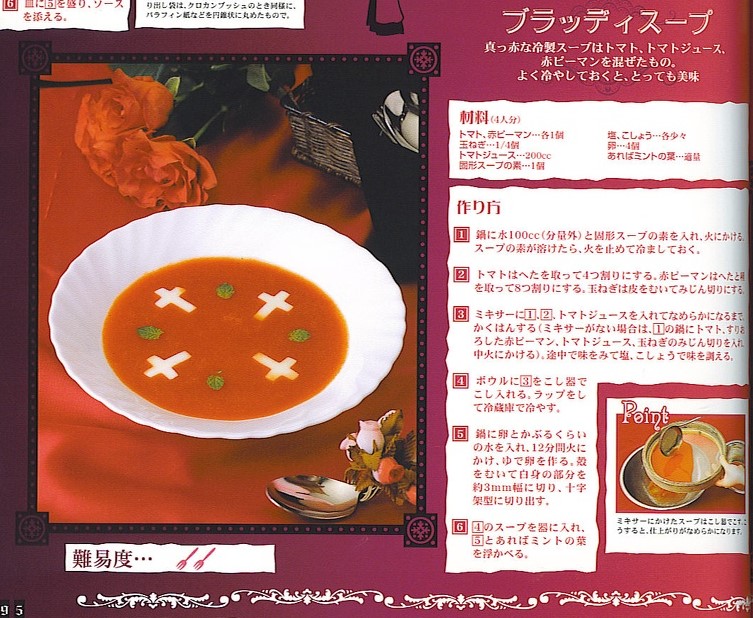
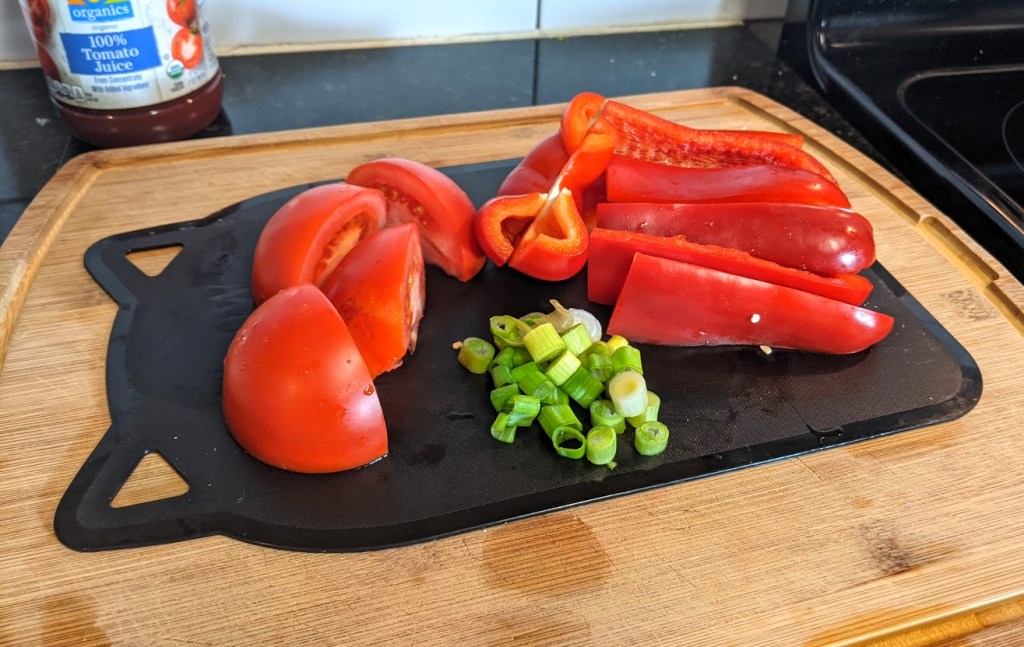
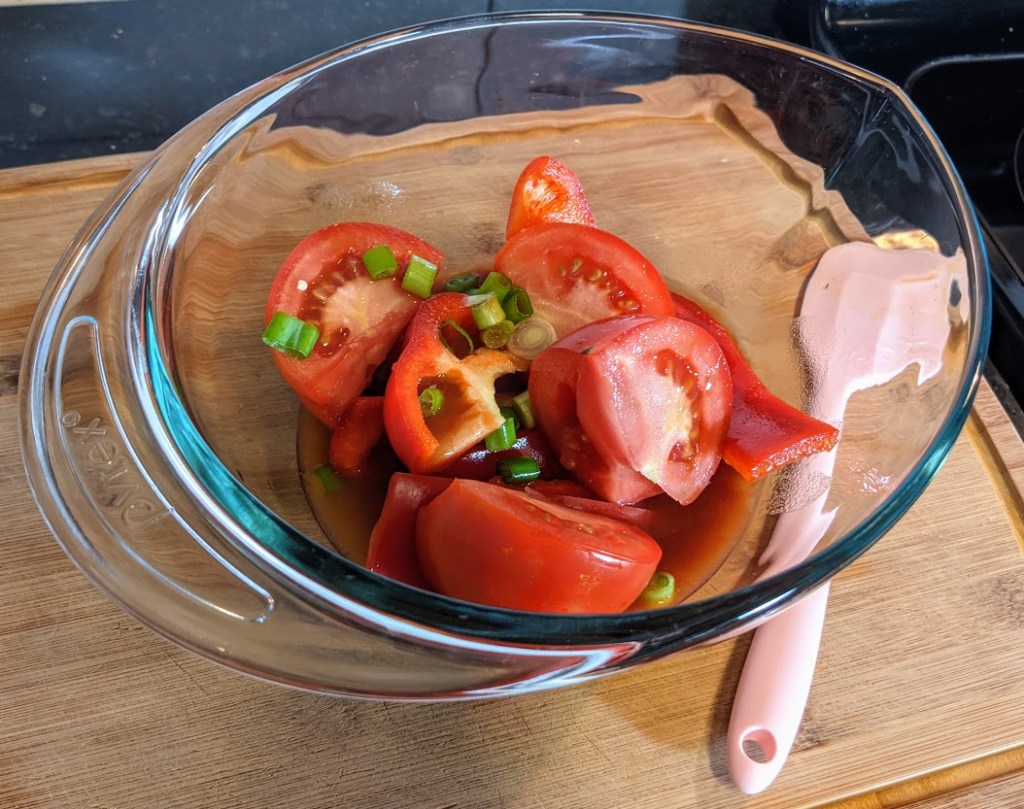
If this works out, I’d like to start applying the same approach to other categories too, but for now, clothing seems to be the category with the most turnover in my house. Kitchen items are something I’m particularly keen on working on, though. With appliances seemingly designed for shorter lifespans nowadays, tracking such things feels really important. I enjoy cooking a lot and having a variety of serveware options, but keeping it all manageable is crucial too. I have a weakness for cute plates from Daiso, but surprisingly, some of the longest-lasting, daily-use serving dishes have come from that dollar store. So perhaps over the next few years, that information will prove interesting.
Wish me luck!

Elegant Gothic and Lolita ~Eternal Feast of the Black Sacrament~ Bloody Soup

Do you ever look back at the old Gothic and Lolita Bibles? Thanks to websites like LolitaHistory.com I like to flip through them from time to time. A few weeks ago something caught my eye that never had before. In earlier issues they ran recipes, presumably to enhance your LOLITA LIFESTYLE.

Something about this image really tickled me though. It might have been the dollar store goth décor or the fact that it is called “Bloody Soup”, but it made me laugh when I saw it. It is so cheesy and fun! So I decided to give it a test run.

For the ingredients you will need:

  • 1 Tomato
  • 1 Red Bell Pepper
  • 1/4 Negi Green Onion (I substituted a single standard green onion)
  • 200cc Tomato Juice
  • A ‘small amount’ of soup base (I assumed this meant bullion)
  • Salt and Pepper to Taste
  • Boiled Eggs (for garnish)
  • Mint Leaves (for garnish)

The first step is to slice the ingredients. The recipe suggests cutting the tomato into 1/4s and the bell pepper into 1/8ths. If you are using a blender to make this recipe that would be fine, if you end up using a hand blender like I did I would suggest going a little smaller to help get you started. Slice the green onion.

Combine the soup base, tomato juice, and vegetables in a blender and blend until smooth. As I only have a hand blender I did this in a bowl. A food processor would also work. Strain the soup through a sieve for a smoother texture. Taste for seasoning and place in the fridge until completely chilled.

On to the fun/frustrating/ silly part. We are going to make egg crosses!

The directions are pretty vague on this part in the original recipe. You just cut crosses out of egg whites. So what I ended up doing was slicing the eggs like this and cutting them from the rounds.

I went through three eggs to get four …okay looking crosses. If you are looking for perfection I would recommend making quite a few eggs to get a uniform look or to buy a very small cookie cutter.

I tried ;3;

But hey, once they are floating in soup they will be fine, r-right? All that is left is to assemble the soup and your dollar store backdrop.

And it is done! The eggs float easily but you might want to use tweezers if you are trying to place them so they do not sink at all. I apologize for my unprofessionalism.

So how does it taste? Honestly, kind of bad. It is like a bland salsa. The eggs don’t add much to it either. I think the eggs floating on top look pretty striking in person though. It might be nice to add to a different soup to spice up your presentation.

But that’s fine, I’m not doing this for flavor. I’m doing this to eat it by fake candle light and think “Hey, I bet Mana taste tested this recipe at some point”.

I’m curious if anyone has experience making these recipes and what they thought of them. There quite a few of them in magazine archive and I would like to take a look at a few more. The other one on this page includes gelatin and canned salmon so I am a little afraid to start there. It reminds me of those old savory gelatins you see in cookbooks from the 1950’s in America. I am just going to have to toughen up since they are cut into coffins and that suits my lifestyle. Aesthetic or die, I suppose.

Dream Dress Showcase | DOKI DOKI ♡ STRAWBERRY MAGIC JSK II

Hello everyone!

Today we are going to take a look at a dress I absolutely coveted for years before I got my hands on it, DOKI DOKI Strawberry Magic. I first saw it on the rack at an anime convention that Baby the Stars Shine Bright was attending and ended up choosing another dress over this one at the time. It haunted me for years, but the wonderful thing about EGL fashion is that almost everything pops up for sale eventually. And this one popped up for sale with the matching head bow!

I also have the matching wristcuffs and a set of socks with the same lace, but as far as I can tell these socks are not from this release. A similar strawberry lace has been used since as early at 2011 based on what I can find online, so luckily it is somewhat easy to find accessories to match.

The set was originally released in 2018 and it had a lot going on. There are two cuts of JSK, a skirt, a blouse, a headbow, a ribbon hair tie set, wristcuffs and even a mini hat! To be honest even a year ago I might have been skeptical of a mini hat, but looking at it now I would love to get my hands on it.

But for now let’s focus on what we do have. This is the second style JSK featuring a detachable apron.

This is one of those prints that really doesn’t photograph well due to the small pattern. If you have ever taken a picture of a small polka dot pattern you know what I am talking about. The busy print looks fuzzy or condensed in an odd way in photos. I have noticed it is better with the other colorways of this dress. I think it is the stark contrast of the red on white. Hopefully some of the detail shots will give you a better idea of the charm this dress has in person.

The bodice lace is one of the standard Baby laces that you often see on their blouses. It makes it really easy to create a cohesive look if you are a person who likes their lace to match.

The bow on the waist is detachable with a small pin for a little more versatility. The apron is removeable with little rose shaped buttons! They are clear so if you choose to take it off they are not too eye-catching.

The straps have four button holes to adjust the length of the straps. The bending on the fabric where they attach is due to the shape of the mannequin so please excuse that. Back lacing is pretty standard with looped lace to hold it in place over shirring. The waist ties are detachable, held to the dress by matching strawberry buttons. I wonder if they are different colors on other colorways to blend in.

The headbow is wired so you can adjust it close to your head for a more subdued look or puff it up for maximum height!

And last but not least some close up photos of the print. While the Ivory color does have a problem of looking too busy to be photographed easily, in person it show off the background lace pattern that is more subtle on the other colors. I never noticed before looking closely for these photos that it has a swirl of pink frosting looping around behind the larger sweets to form more hearts and the word “Baby”. So cute!

While I was so excited to get my hands on this dress the cut is a little odd on me due to my long torso so I have purchased the red colorway of the JSK 1 cut. When it gets here I will make a post so we can compare the differences.

I hope you enjoyed the detail shots and if there is anything more you would like to know about the dress just ask! I would be happy to add more photos or information on request.

See you next time ♡

Oh Kumya, What Have I Done?: The story of my Baby the Stars Shine Bright Phone Case Repair

It is probably fine if I just skip my introductory post, right? Let’s just skip to the part where I messed up the other day.

A few weeks ago a BTSSB phone case that I had been eyeing for a couple years came up for sale secondhand. When it was in store I would talk myself out of it because it felt so frivolous to pay so much for a phone case I would have to put another phone case in to protect my phone. Kind of defeats the purpose, right? Well, lolita is not a hobby ruled by logic. When one popped up on Lace Market lightly used in a color that matches almost every dress I own my willpower fizzled out.

No regrets.

The only problem was that since it was used the tape to attach your phone or case to had already been used. So I bought some intense Gorilla Glue Tape. I was a fool. Not that the tape would not hold the phone to the case, it did it so well…it did it so well that when I tried to reposition the phone case I snapped the plastic that held in the slider. I had my wonderful treasure for about 5 minutes before my ham hands destroyed it.

After some panicking and telling myself that it “wasn’t that bad” I did determine it was indeed that bad as I threw my phone on some asphalt trying to put it in my purse. With the mechanism broken the phone was completely unsecured making the case pointless.

A little regret.

For awhile I was too afraid to do anything. It still looked cute! I can just keep a piece of cute garbage, I told myself. In the end it just made me sad to look at knowing how quickly I had bungled something so simple, so I came up with an idea.

I bought a cheap phone case off Ebay for $5 and used a knife to pry off the shifting mechanism.

This was pretty easy! I wasn’t too worried about messing up the pleather so it came off quickly. Just wedge the knife under the plastic and twist. The real pain came in taking off the adhesive on the back. Glue does not stick well to glue, so it is very important you do not skip this super annoying step. It took me about 40 minutes to get it off with a mix of acetone and Goo Gone. After removing it completely be sure to wash the residue off with some soap and water to make sure it doesn’t interfere with the adhesive. After that I just scuffed it up a bit with some sandpaper for extra grip. Good to go!

This was a huge pain, but worth it!

Now for the part I was dreading. I had to cut the old base off the phone case and it felt reeeeeeal bad. As expected of Baby the Stars Shine Bright the quality was better and the mechanism was glued directly on to the sheet of pleater. I had to cut through it. If I had just pulled it off it may have created a rip in a visible place, so as much as I hated to do it…

Aaaaaaaaaaaaa

The final result is worth it, I swear! To make sure the pleather did not unravel further once the phone case was placed on it I took the glue and did a coat around the edge of the fraying material. It doesn’t look too nice, but I believe this will help the pleather from moving around under the plastic bit during use.

All that is left is to glue down the plastic mechanism. For this I took a paint brush and made sure to coat the entire back touching the case. As my cut was (somewhat) neat the plastic bit easily covered the entire frayed area! I was a little worried, but it looks surprisingly clean! Good as new! No one would know, except me who will always be haunted by the shame of when I Hulked apart a nice brand piece. :’)

Thanks for reading! Maybe this will help someone out there. Maybe you can just laugh at my pain. If you have any questions just let me know and expect more lolita fashion specific posts soon!